Every first-time skier starts out by doing the snow plough. It forms the basis for all other techniques that build on it and is, therefore, a must for every beginner. However, before hitting the piste as part of your (first) ski lessons, it is helpful to inform yourself about the new skiing technique and to get to know some beginners’ exercises. This helps to make the first skiing experience more relaxed.
The checkyeti experts present the most important aspects of the snow plough and explain how it’s done correctly and how to practise it.
The snow plough or the pizza slice: A delicious skiing technique

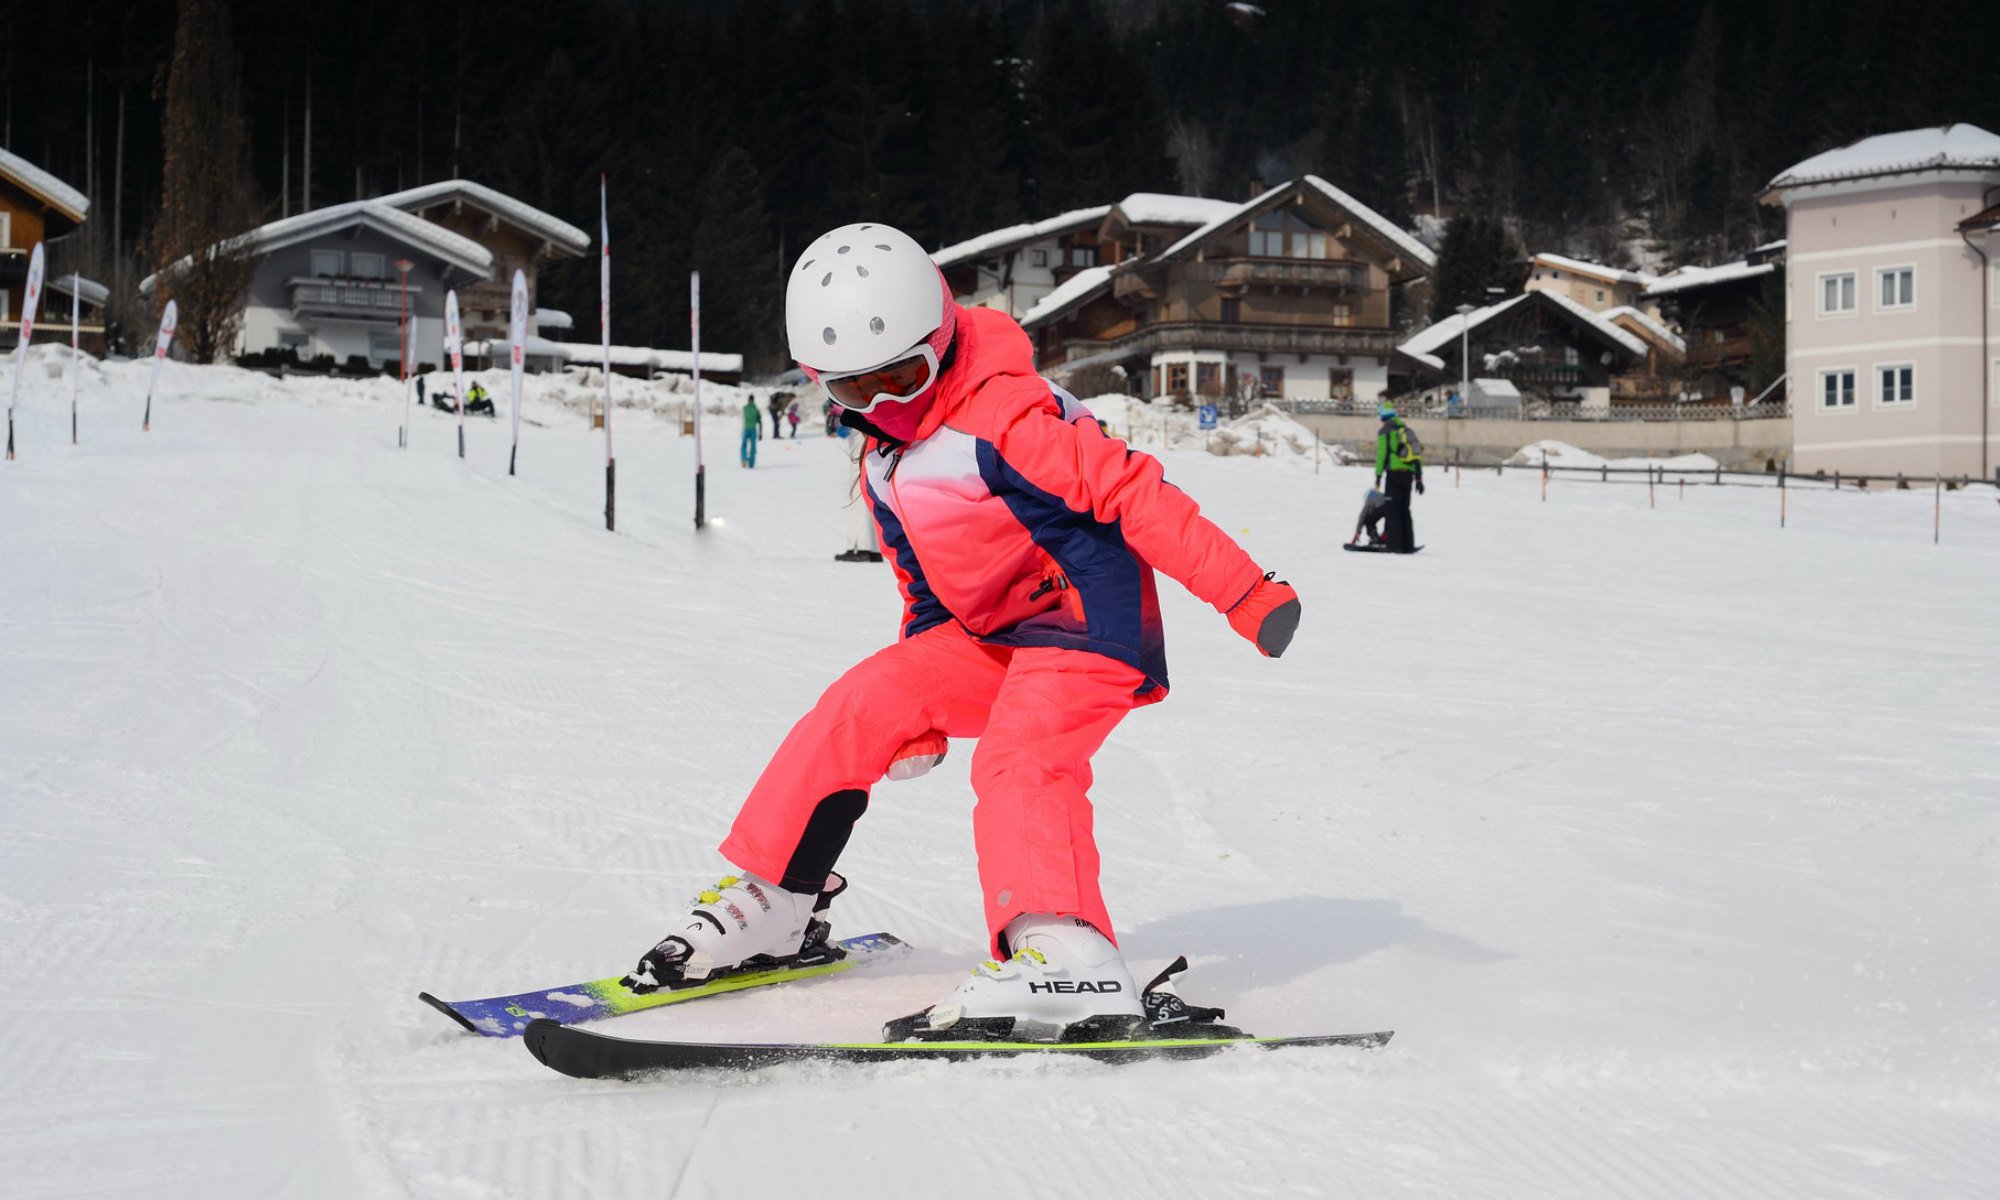
The snow plough is the first skiing technique that beginners are taught. Since this technique requires the skier to glide forwards with the front tips of his or her skis pointed together while the back ends of the skis point away from each other, thereby resembling a ‘V’ shape, this position is also said to look like a slice of pizza. That’s why the plough is also often called Pizza Slice.
It is important that first-time skiers master the plough before facing real pistes, as this technique is the basis for all other skiing techniques which build on the plough and which are needed for proper skiing. It is mostly used in the beginning for speed control and to learn how to turn. Particularly children find it easier to learn how to ski by using the plough. Nonetheless, even intermediate-level skiers still rely on the tried and tested technique.
As the snow plough is a basic technique for skiing, beginners are well-advised to book ski lessons. That way, the correct technique can be learned from the beginning before the wrong movements are adopted which require even more training to correct.
For a successful start to the new winter sports activity, the snow plough is best practised with a trained skiing instructor in a group course or in private lessons. During ski lessons, independent of whether in a group or with a private instructor, one starts by practising how to slide and glide on flat ground in order to get the feeling for wearing skis and how to maintain one’s balance. In addition, one practises how to assume the position of the plough. Once this has been achieved, one can move on to gentle slopes which are easily accessible by beginners’ lifts and conveyor belts. Here, the proper way to brake while in plough position and how to turn are taught for the first time.
How-to: the correct execution
Essentially, the plough has two main uses: braking and turning. As is the case with all variations of skiing, the correct technique is of essence. To make it easier to visualise, the skiers’ position is often referred to as pizza or French fries. The parallel ski position, whereby the skis are supposed to look like two French fries laid out next to one another, is the starting position when standing still. If both heels are simultaneously pushed apart and the inner edges of the skis are pushed into the snow, the result is the typical form of the plough resembling a slice of pizza.
Braking
Even when in motion, the aforementioned position is kept. If one wants to brake, one must push his or her heels further outwards, so that the plough becomes larger. At the same time, the skier pushes his or her knees slightly inwards. In doing so, it is important to keep a small gap between the tips of the skis and to make sure that the skis aren’t crossed. The more forceful this motion is carried out, the quicker the skier brakes.
The first turns
The next step is turning while in plough position. One starts by slowly gliding down the slope in the Pizza Slice position. Then, the skier puts a little more pressure on the downhill ski – i.e. the left ski in a right-hand turn, and the right ski in a turn. Once again, the skier’s knees are pushed inwards and his or her body weight is shifted outward.
In order to change the direction of the turn, one has to do the same movement, including tilting the skis and shifting one’s weight, on the opposite side. In doing so, one puts pressure on the downhill ski again and the skis turn almost automatically.
Practice, practice, practice!
As is the case with any newly acquired skill, mastering the plough requires practice, more practice, and even more practice. The more often the movements are repeated, the more likely it is that one’s brain and one’s muscles will remember the correct motion. Therefore, in order to feel confident on skis and to master the plough within a short period of time, a number of exercises can help.
In the video below, skiing instructor Jessy shows how to practice the snow plough:
Speed control and turning
At the beginning, the aim is to glide down the slope in plough position with the tips of the skis pointing downwards towards the valley. In order to control one’s speed, the heels are repeatedly pushed apart harder and harder, as a result of which the plough grows larger and the skier starts to move slower.
For turns, the skis are directed towards the desired direction while applying pressure on the downhill ski. This initiates the turn. The turn is continued until the skis are parallel to the mountain again. To ensure that the upper body and the arms remain still, the ski sticks are best left out altogether. Instead, the hands are pressed on to the knee of the outside ski in order to provide support. As soon as the first couple of turns have been completed successfully, one can continue practising the turns by placing the sticks in the snow and skiing around them.
One can also practise the plough with a partner by letting oneself be pulled by another skier. Here, you do not hold on to your partner’s hands, but instead, both skiers hold on to the opposite ends of their ski sticks. This allows for sufficient space between the two skiers. You first begin by skiing in parallel position and repeatedly assume the plough position. The more forceful one ploughs, the more forceful one brakes and the harder it becomes for the skier in front to pull.
Practising with children
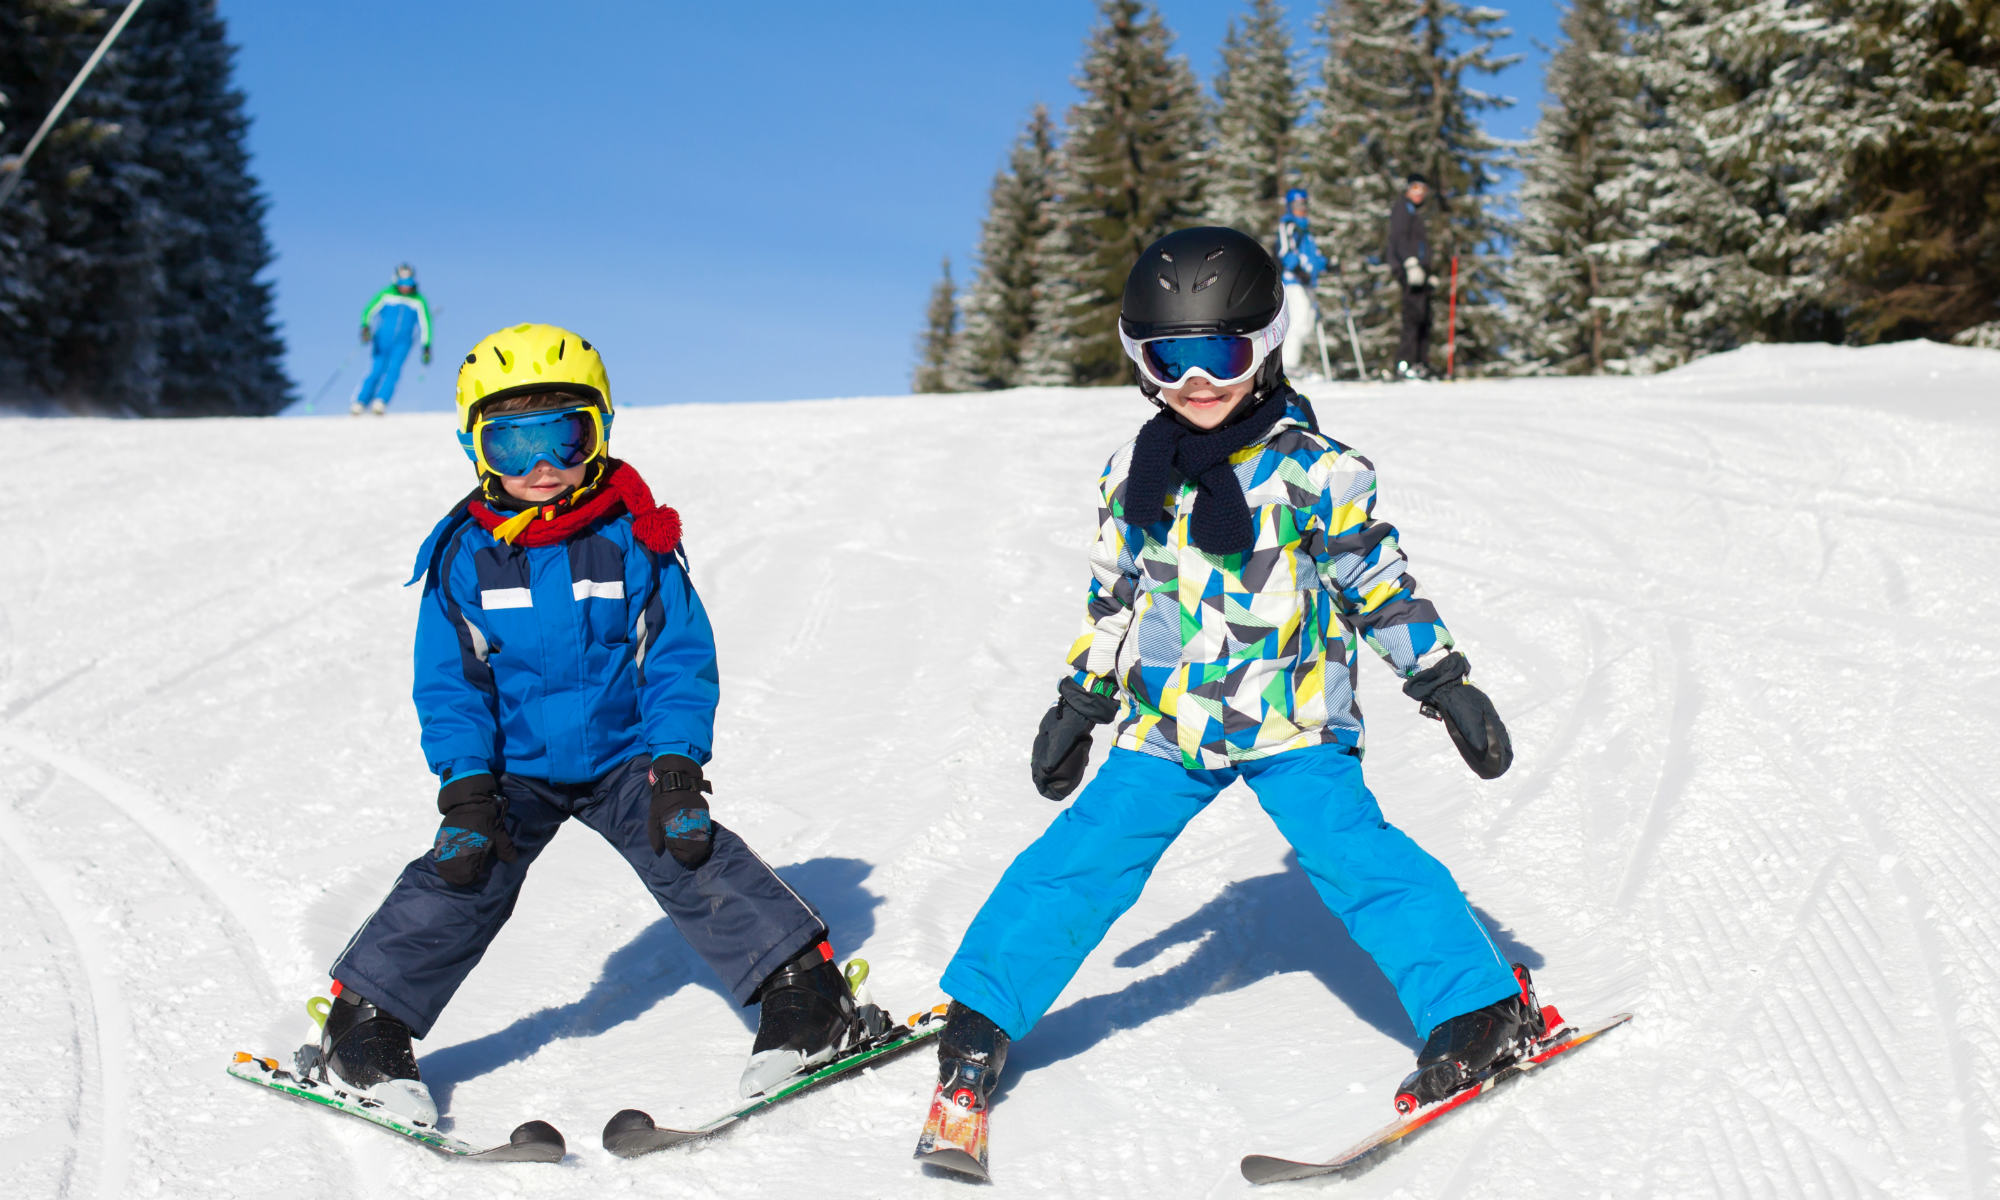
When practising with children, it is important to remember that the exercises should always be demonstrated and explained visually, so that the little skiing beginners can easily copy them. The position of the skier in plough position can, for example, be described as a pizza slice, and the parallel ski position when gliding as ‘French fries’.
To begin with, the assuming of the skiing position can be practised stationarily. Only when this has been done successfully, the Pizza Slice can be practised while slowly gliding. Obviously, it is important for children to have fun. That’s why fun practice methods such as the Traffic Light Game are recommended. Here, the children have to brake every time the traffic lights turn to red – i.e. when their parents or the ski instructor shout ‘red’ or signal a ‘Stop’ sign with their arms.
For me, skiing is the perfect combination of spending time with family and friends, exercise, and outdoor bliss. What more would you want?